Step-By-Step Guide to Spa & Swim Spa Installation in NZ: From Prep to Completion
A spa installation in New Zealand takes quite a bit of coordination and consideration - making sure everything is up to the local council code, finding good spa installers, electricals, plumbing, delivery and the installation itself.
No stress. We'll show you how to install a spa pool using an installation of our 4.5m myWorkout swim spa as an example with clear, step-by-step instructions, so you'll know that installing a spa can be simple and stress-free!
Step 1: Select a spa
Getting a spa installed in your home is a fantastic idea, whether for relaxation, therapeutic reasons, or simply to add value to your property.
However, it's important to remember that choosing the right spa isn't as simple as picking one straight out of a catalogue. Here at Sapphire Spas New Zealand, it's our goal to help you find the perfect spa that suits your needs. To do this, we'll guide you through considering several important factors.
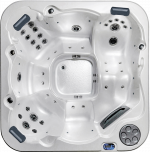
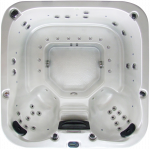
1. Spa Size: This is typically the first thing you'll have to decide on. Sapphire Spas offers a wide range of spas, from 2-seater models from our compact spa range to expansive 8-10-seater spas from our Entertain range. Your choice will largely depend on available space.
Here are a few variations of spa sizes from our spa pool collection:
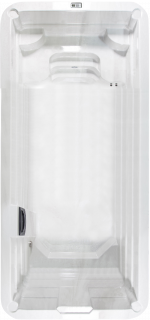
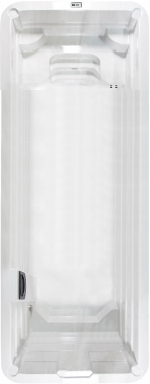
2. Spa Type: We offer traditional spas or hot tubs, swim spas, plunge pools and our exclusive myDualzone spa, which combines a swim spa and a spa pool in one convenient unit.
Standard spas are great for soaking, relaxation, and therapeutic benefits, while swim spas give you the ability to swim against a current and enjoy a full-body workout.
For instance, a customer contacted one of our Sapphire Spas distributors, seeking a solution for health, fitness, and relaxation. With expert guidance, they opted for the premium version of our myWorkout 4.5m swim spa because it perfectly aligned with their goals.
3. Features and Extras: As you explore our spa range, you’ll notice a variety of options:
- Mood lighting with LED lights
- Heat&Cool pump technology
- Premium water purification systems
- Powerful jet configurations
- Waterfall features
- Deluxe cabinetry: Options range from the EnviroGum natural timber to Duratek, the environmentally friendly timber alternative.
While these features add to the cost, they can significantly enhance your spa experience.
4. Quality and Design: Lastly, never underestimate the importance of quality and design. At Sapphire Spas, we are very proud of our Certified Australian Owned and Made spas; the spas are built at our Melbourne manufacturing plant, meeting the highest Australian Standards. They come with a trusted warranty backed by quality-controlled manufacturing.
Sapphire Spas has 18 stores in New Zealand spread out across the North and South Islands; pop into any of them to talk to our friendly staff, who can help make this decision easier for you. We'll guide you through all the pros and cons until you find the perfect match. After all, we believe a spa is an investment in your health and happiness, and it's one you deserve to get right.
Step 2: Council approvals
After you've picked your favourite spa from Sapphire Spas, the next move is getting council approval and, if needed, building consent ( if your spa pool is close to the boundary or other buildings). All pools and spas in New Zealand should follow the Building Act 2004. These rules cover how barriers, fences, signage and steps near pools and spa pools need to be designed to keep kids safe. More details about this can be found here.
Rules and regulations can also vary from city to city, so we recommend consulting with a swim spa installer from your area to draw up plans according to the specific requirements of your local council. They'll help navigate the process smoothly, ensuring your spa installation is hassle-free and compliant.
Step 3: Electrical preparation
Electrical works should always be planned ahead of concrete slab preparation. Spas have specific power supply requirements. For example, this myWorkout swim spa, with its 3 hydro jet boost pumps, required wiring rated to a minimum 45 Amp load.
So, as part of the installation, we provided the customer with all technical documents and specifications so that their electrician could design the circuit and power supply appropriately.
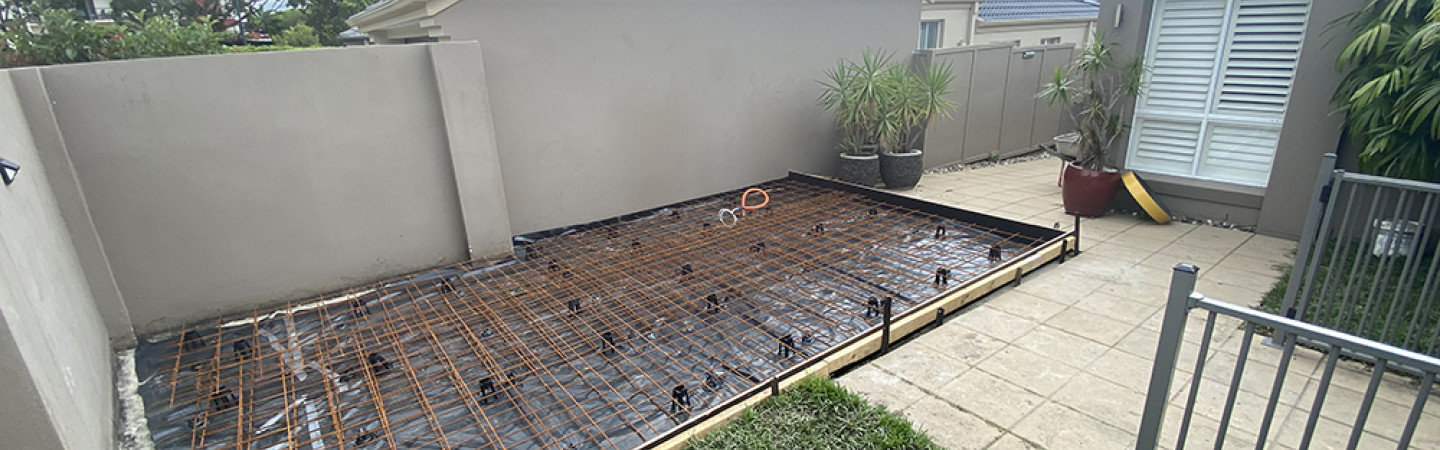
Step 4: Building the spa’s foundation
If you're all up to code with your local council requirements and the electricals sorted, the next step is to prepare a solid, level concrete slab foundation for the spa.
Slab preparation is important; poor preparation could lead to an unstable slab that may crack over time. What's more, a poor foundation will also put undue stress on the spa frame and its components. So, make sure you have a certified concreting contractor on board.
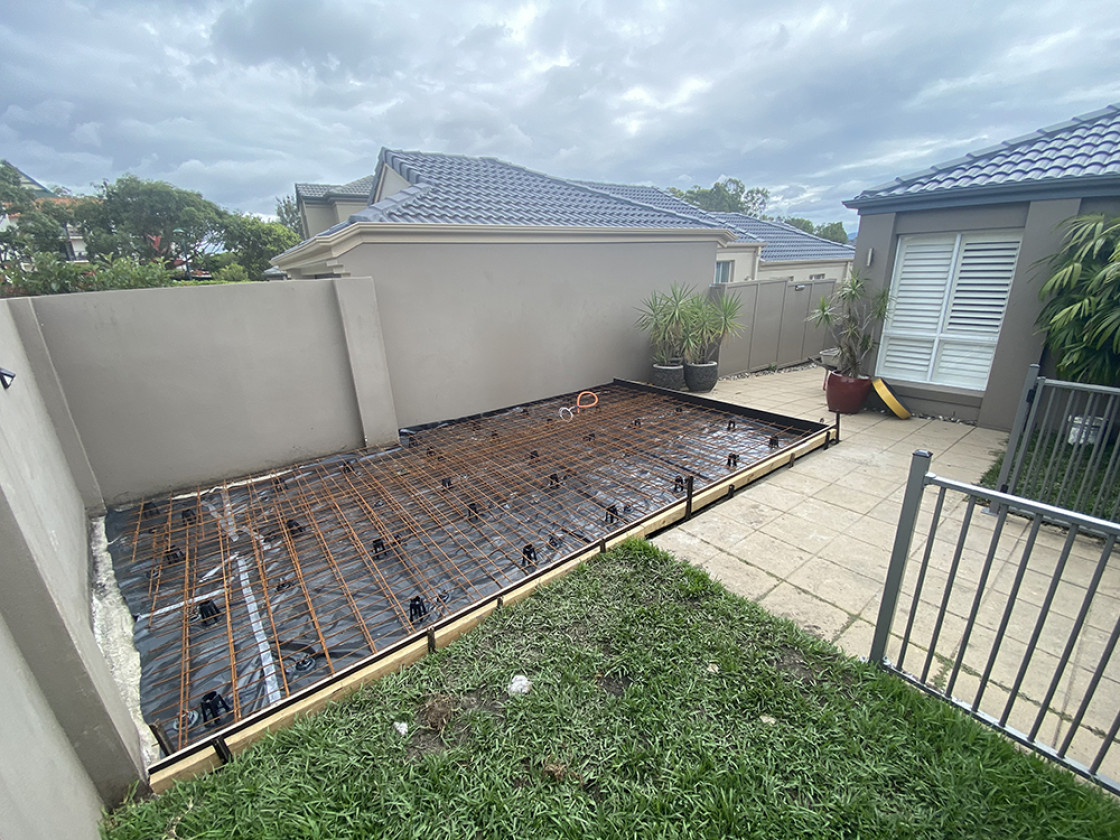
Here's how the slab preparation process went in this particular spa installation:
- Building the foundation: the contractors built a strong foundation featuring a reinforced 200mm thick slab. A moisture-proof membrane sits beneath it, resting on 50mm of carefully compacted sand for added durability. This is a common foundation for swim spas when being placed on stable ground.
- Concrete Pouring: Because of the tight space, a concrete truck couldn't reach the spa site, so wheelbarrows were used to pour the concrete. This was done very carefully to prevent the formation of air bubbles or weak points in the new slab.
- Paving: Once the concrete is set, adding paving is a good option to enhance your spa base's looks and durability. Our client chose pavers that blend seamlessly with their outdoor space, creating a cohesive look. If you're thinking about adding paving, it's smart to do it before installing the spa.
For more details on slab pouring, check out this guide on how to build a solid spa concrete slab.
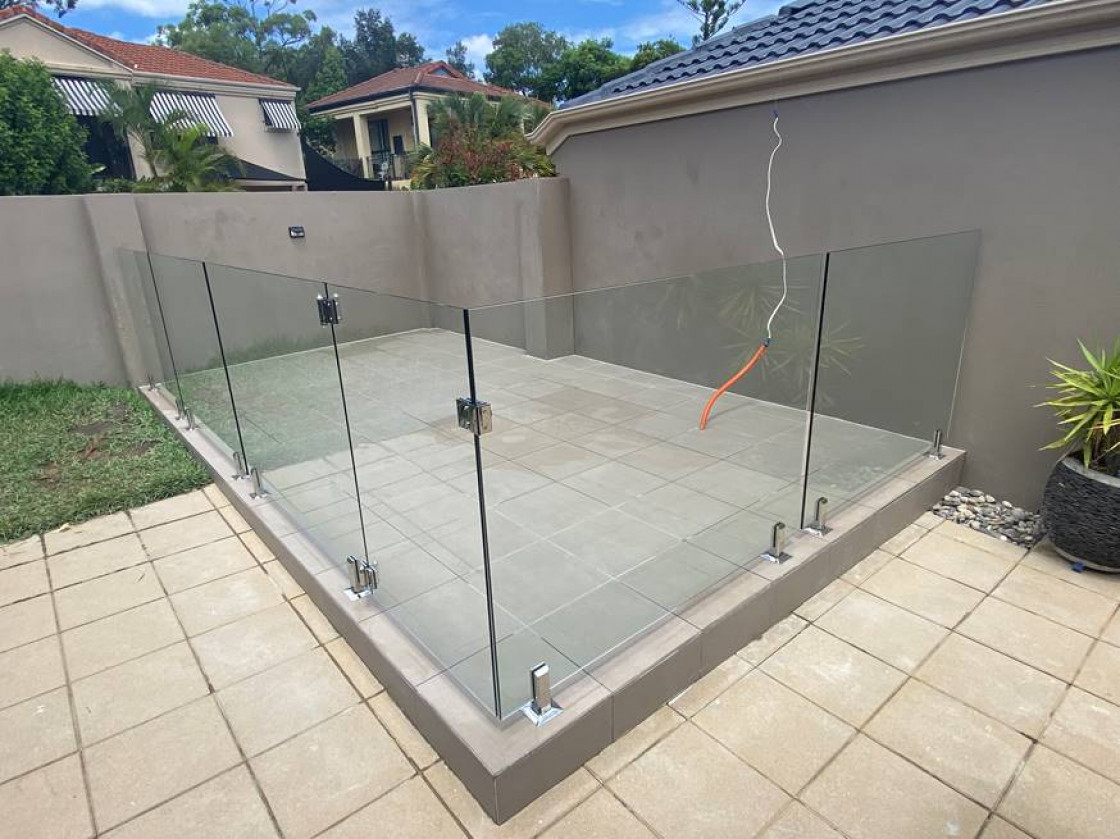
Step 5: Installing the spa fence
Safety comes first when it comes to your spa or pool setup. While fence regulations may differ by region, it's a smart move to think about installing one for the well-being of your loved ones and guests. For specific fence details in your area, it's a good idea to touch base with your local council or building surveyor.
Do spa pools need a fence in NZ?
If your new spa pool or hot tub checks these four boxes, you're in luck! It doesn't need an approved pool safety barrier:
✓ It's 5m² or less.
✓ The lip is 760mm above the ground.
✓ No climbable steps or objects within 1200mm.
✓ Covered by a lockable safety cover with warning signs when not in use.
Source: www.building.govt.nz
But, if it doesn't meet these requirements, you'll need a safety fence. For example, this specific installation of a myWorkout swim spa required a 1.3m high fence to be built around the entire spa pool.
Step 6: Delivery of Your New Spa
Once the planning's approved, electrical connections run, and the slab poured to specification, it's time to deliver your spa!
Always use a reputable crane or delivery company that can provide proof of insurance on request.
For this installation, a crane truck had to be used and thanks to the excellent preparation in the weeks prior, the delivery process was very quick and successful. Our delivery team took extra care to place the spa accurately and safely. They then set up the electrical connections into the spa cabinet before final placement.
Step 7: Spa Installation
After delivery and electrical connection setup, it's time to fill up your new spa. The Sapphire Spas team can run you through your new spa's operation. We also recommend using our detailed online resources on spa installation to familiarise yourself and get the most out of your new spa.
Step 8: Adding Accessories and extra features
We recommend getting yourself these accessories/features to make your spa experience more enjoyable and comfortable:
- Spa steps or deck: Due to the height of our swim spas, it’s highly recommended to build a deck or enquire about our stair options that can be supplied to make access to your spa safe and comfortable. The stairs are stainless steel and timber and can be designed to match the style and aesthetic of the chosen spa and its surroundings.
- A shade cloth: For added protection and to make the spa usable all year round, use a shade cloth that can also be matched to complement the entire spa area.
Step 9: Final council approval
With the spa installed and connected, all safety measures in place and certificates of compliance obtained from the tradespeople involved, you can apply for final approval or have your spa pool registered with the council.
You don't have to register your spa pool with your local council if your spa pool doesn't need a safety barrier. But it's always good to check with the council, you can do that here with this easy online form.
Step 10: Using your spa!
Finally, you are free to enjoy your brand-new spa! Pour yourself a well-deserved glass of wine and soak in the warm, bubbling comfort that your spa provides.
Indulge in the ultimate relaxation, reducing stress after a long day, or invite friends over for a sociable spa day. The choice is all yours!
Final Thoughts On Spa Installation
Putting in a spa pool or swim spa may take some time, but with attentive planning and follow-through, you'll achieve fantastic results.
From working with the local council to getting the perfect accessories for your needs, having a spa from Sapphire Spas installed will give you years of enjoyment. Our team of experienced sales representatives and installers can work with you to make your spa installation process as quick and easy as possible.
Explore our spa pool, swim spa and plunge pool collection and book a test dip at your local Sapphire Spas retailer in New Zealand. For inspiration, explore our gallery of spa pool installation ideas. Give us a call at 0800 477 276 if you have questions, or go through our spa installation planning guide for more details.